This page is applicable to NetConnect X 1.5 and above
Overview
This page will guide you through the day-to-day operations of an RDP connection.
Launching the application
When launching an application, a black screen will momentarily appear, following by a blue banner. After several seconds, the RDP session will initiate. Note, this timeframe can be influenced by bandwidth availability and destination resource availability.
Basic controls
Once within the session, the user can control the mouse and keyboard inputs in the same fashion as a standard Windows Remote Desktop Connection. The majority of Keyboard combinations will pass through, however several are captured by the local workstation and are not passed through – for example, Control+Alt+Delete and Alt+Tab. Where possible, alternatives are made available.
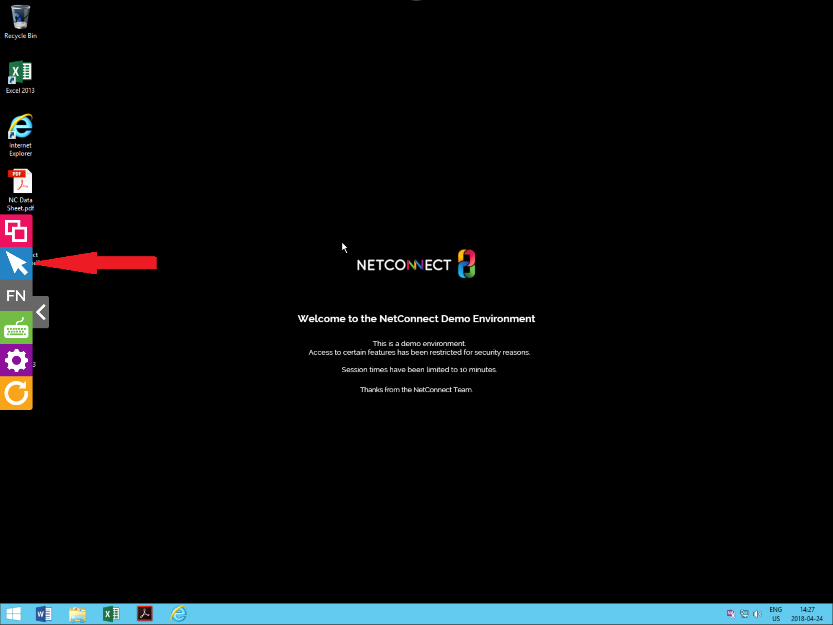
Control Strip
The control strip is located at the centre-top of the RDP session and can be called-up by clicking on the arrow. Options available in the control strip are:
Control+Alt+Delete
Use the keyboard this icon to send a Control+Alt+Delete command through to the remote session.
Full Screen
Session Clipboard
This icon opens the session clipboard, this is used to copy text into and out of the remote session – see the Copy & Paste page for further information.
Disconnecting
To disconnect your session, it is recommended that users manually log out of the windows/application session. Whilst the browser tab can simply be closed, this will not disconnect the session on the server side and will continue to utilise resources and licences.
<< User Select Credentials, Provide Credentials Main Menu >>