This page is applicable to NetConnect X 1.5 and above
Overview
This page will guide you through the process of ordering a certificate via our CSR generation process, and then applying the certificate to your NetConnect instance. Before proceeding, please ensure you have access to a party SSL Certificate provider.
Please note, you must ensure you have a valid root certificate from your provider installed on your NetConnect box; whilst we provide a range of common root certificates we recommend confirming your providers is present for certainty. This can be checked in our Root Certificate Authorities page.
Ordering the SSL Certificate
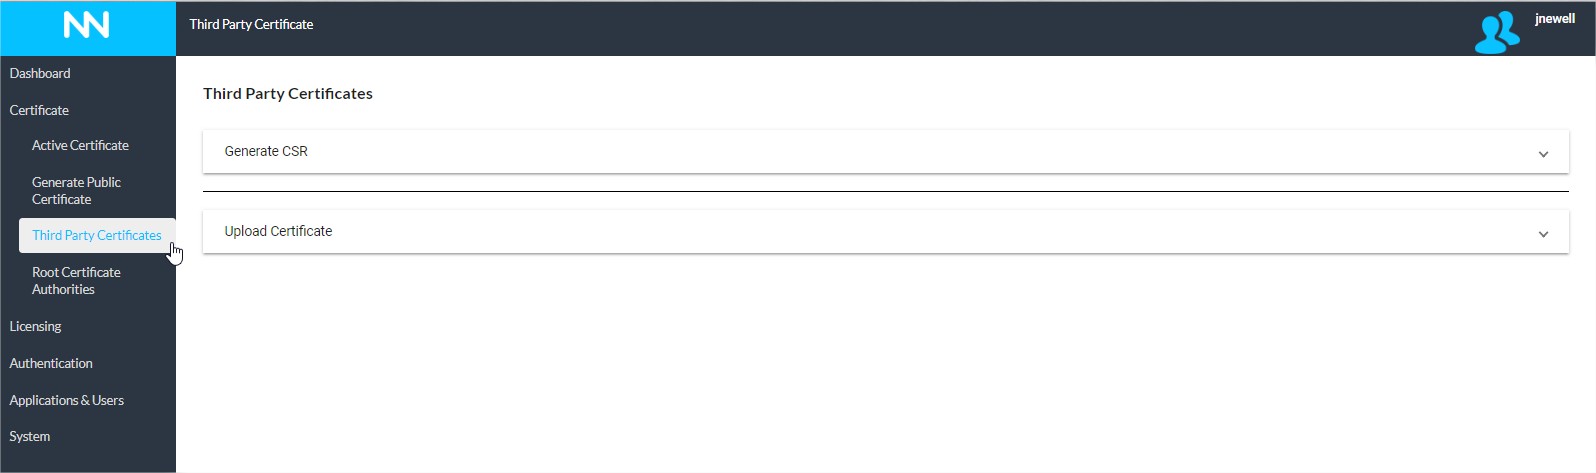
To begin ordering your SSL certificate, you will need to generate a new Certificate Signing Request (CSR) from your NetConnect instance; this is essentially a simple message sent from an applicant to a certificate authority in order to apply for a digital identity certificate. To create a CSR, expand the “Generate CSR” section and follow the below guidelines:
- Country Code – This must be the recognised SSL two-digit code which corresponds to your location (specific codes can be found at https://www.bda-online.org.au/help/bda-conventions/abbreviations-countries/).
- State – This must be either a two or three character abbreviation.
- City – Enter the name of your nearest city/town.
- Organisation – Enter your organisation name.
- Organisation Unit/Department – Optional.
- Common Name – Enter the URL you are creating the certificate for.
- Email – Enter your email address
Once this field has been completed, click “Submit” and you will be presented with a box containing your CSR. Use the ‘Copy to Clipboard’ button to capture the information and submit to your certificate provider. Note – submitting a CSR to a provider will invalidate any previous CSR requests or certificates associated your URL.
Once the CSR has been approved, your certificate provider should send the certificate via email, and/or make them available on their portal for download.
Installing the SSL Certificate
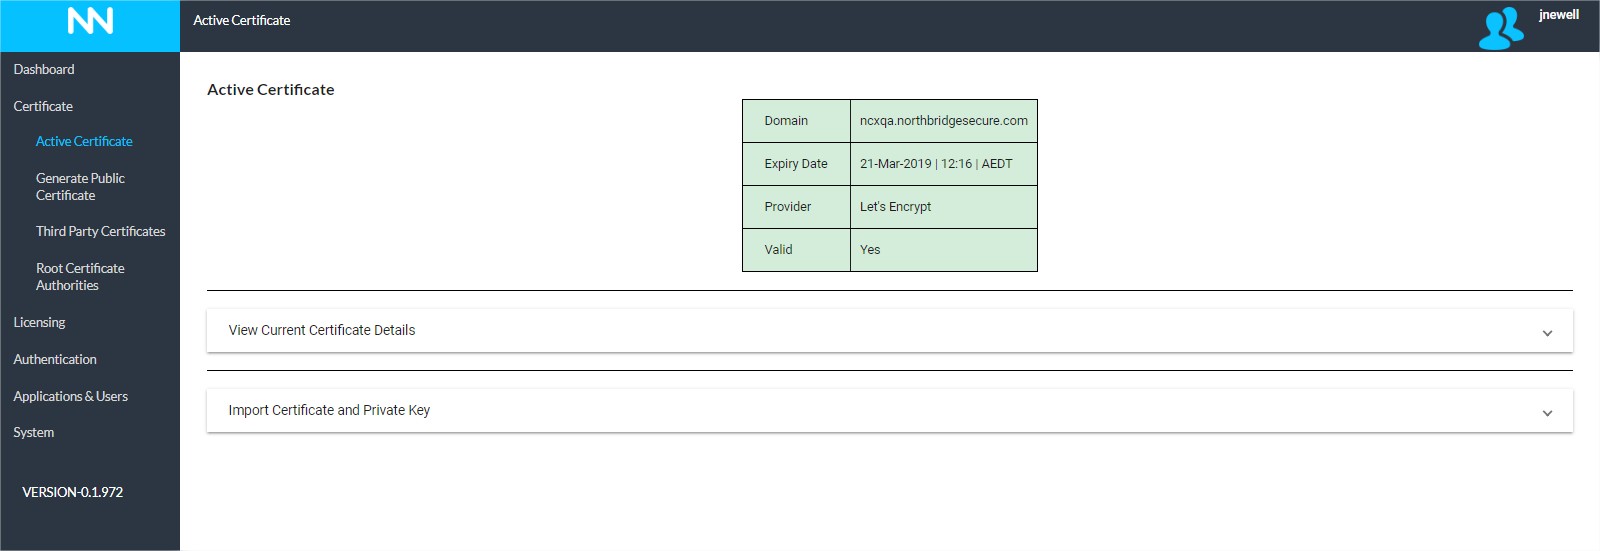
Once you receive your certificate from your provider, simply expand the “Upload Certificate” section and paste the full certificate file and click the ‘Upload Certificate’ button. You will receive a notification on your screen to confirm the certificate has been applied successfully. You should now be able to navigate to your NetConnect instance URL via a secure connection.
In the event the certificate upload fails, we recommend confirming your certificate providers root certificate is present within the Root Certificate Authorities page. If this appears to be correct, confirm the date and time of your system is correct.
Next Steps…
Once your SSL certificate is generated, you’ll be able to access your server securely via the assigned URL. Typically, the next step would be to assign a licence, see our Licensing section for more information. If you already have a licence assigned, you can move ahead to the Authentication section for details on how to bind to an Active Directory and configure multi-factor authentication to further secure your environment.
<< Generate Public Certificate Root Certificate Authorities>>