This page is applicable to all NetConnect releases

Installation of the NetConnect image is a straight forward operation. This section will pass over the standard OVA/VHD installation process and concentrate on the specific steps required for NetConnect. For steps on the standard OVA/VHD installation process, please refer to the publicly available VMWare/Hyper-V guides.
Select Your Platform
From your VMWare Console, select File > Deploy OVF Template and follow the below steps;
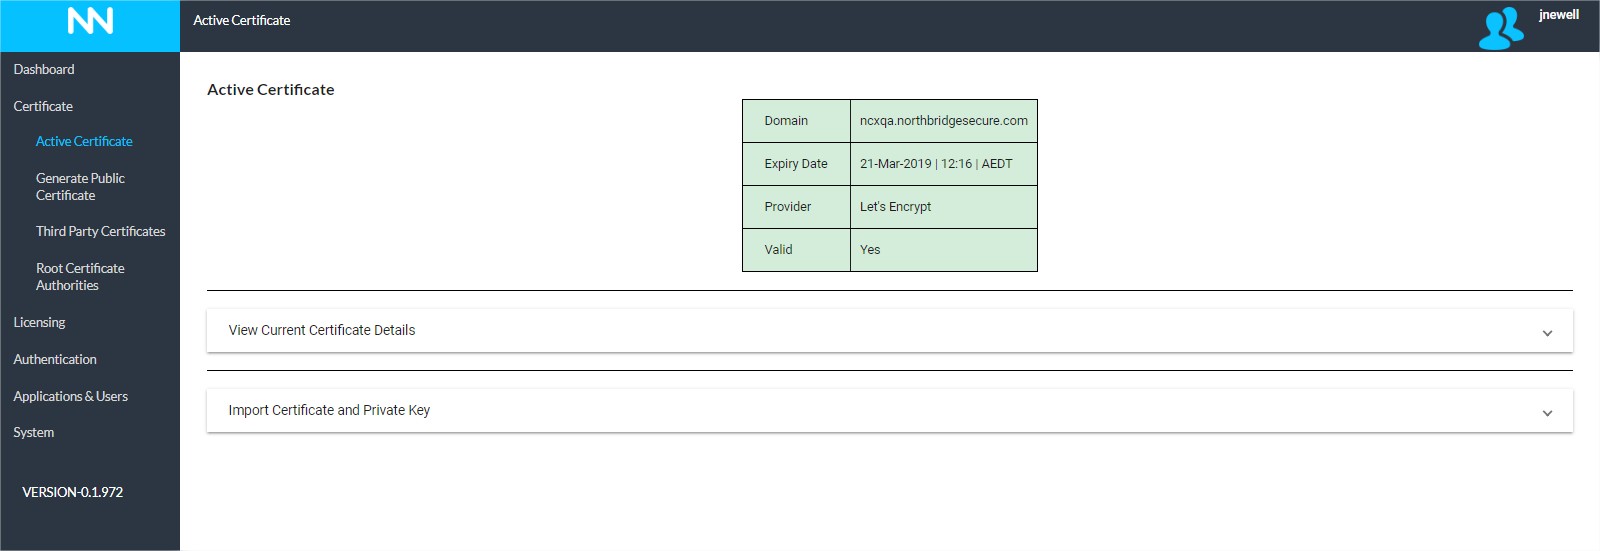
Once completed, right-click on your new NetConnect VM, select “Open Console”. This server will boot up and you will be presented with NetConnect welcome page.
| Step | Action |
|---|---|
| Source | Browse to the NetConnect .ova |
| OVF Template Details | For reference only; click Next |
| Name and Location | Name server as required. |
| Disk Format | Select Thick Provision Lazy Zeroed. Ensure you select a network and subnet with access to the desktop/server you wish to access via NetConnect X |
| Network Mapping | Select the relevant pre-configured Network adapter. |
| Ready to Complete | Review and finish. |
Open your Hyper-V Manager and navigate to New > New Virtual Machine
Once completed, right-click on your new NetConnect VM, select “Connect”. This server will boot up and you will be presented with NetConnect welcome page.
| Step | Action |
|---|---|
| Specify Name and Location | Name your server as required. |
| Specify Generation | Ensure Generation 1 is selected |
| Assign Memory | Allocated required memory. We recommend a minimum of 4096MB |
| Configure Network | Select the required Network card. Please note this is required to ensure that access to the Network configuration can be achieved. |
| Connect Virtual Hard Disk | Select 'Use an existing virtual hard disk' and browse and select the NetConnect VHD that was downloaded from the Partner Portal. |
| Summary | Review and finish. |
Next Steps
Now your NetConnect server is installed, you’ll need to configure the basic network settings. For details on how to complete this, please proceed to our Network Configuration page.